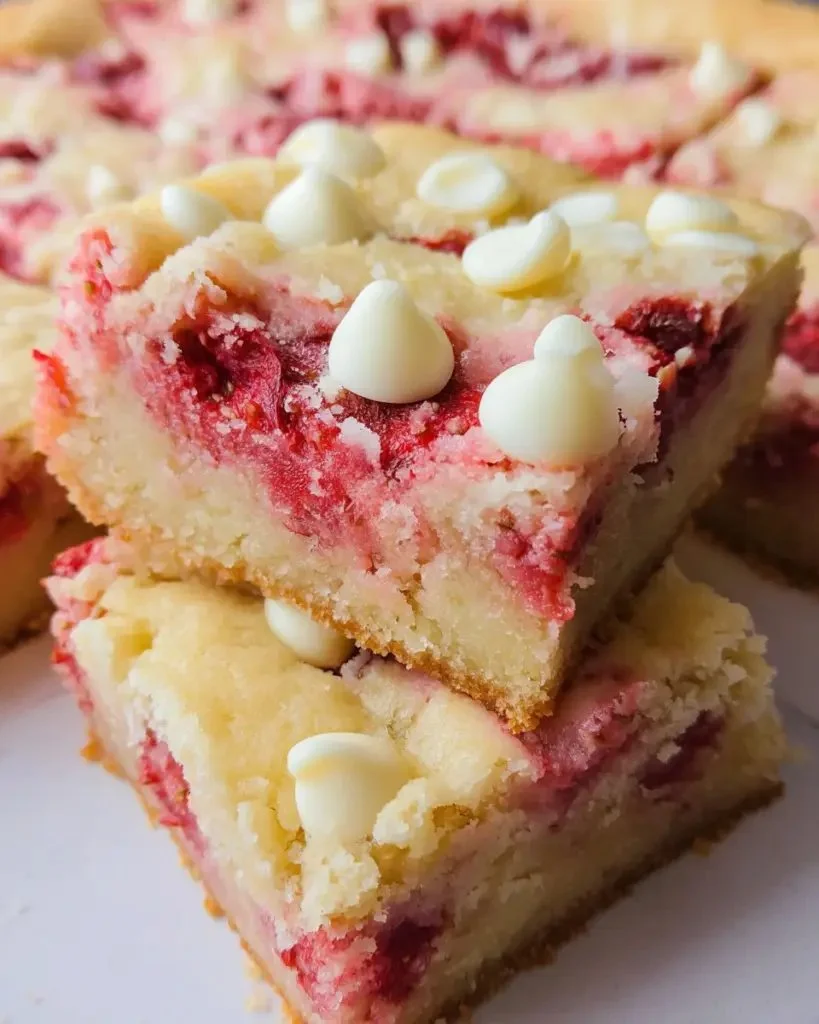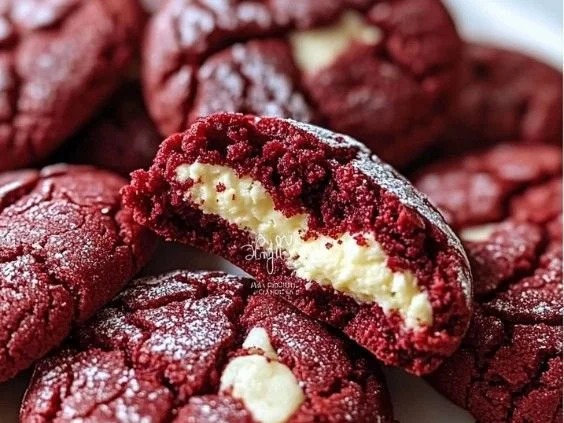
The aroma of freshly baked cookies wafts through my kitchen, invoking memories of cozy afternoons spent baking with loved ones. Amongst my favorite treats, there’s something undeniably special about Red Velvet Cream Cheese Stuffed Cookies. These delightful confections aren’t merely a sweet respite; they’re an experience—a bite of nostalgia wrapped in velvety richness that brings a smile to anyone who tastes them. Whether celebrating a special occasion or simply indulging in a moment of self-care, these cookies are sure to warm the hearts of those who gather around.
Recipe Timing
- Prep Duration: 20 minutes
- Active Cooking: 15 minutes
- Total Duration: 35 minutes
- Portion Size: 24 cookies
- Complexity: Simple
Nutritional Recipe
- Calories per portion: 240
- Protein: 3g per serving
- Carbs: 30g per serving
- Fats: 12g per serving
- Fiber: 0g per serving
- Sugars: 18g per serving
- Sodium: 120mg per serving
Why You’ll Love This Red Velvet Cream Cheese Stuffed Cookies
There’s a certain joy that lights up a room when these cookies are unveiled—vibrant red dough cookies with creamy white centers that beckon you closer. The rich flavors intertwine seamlessly, creating a delightful balance: the slight bitterness of cocoa, sweetness from sugar, and the tangy creaminess of the cheese. These are not just cookies; they are a festive treat suitable for any gathering, invoking comments of admiration and satisfaction. Plus, they scream celebration just in their color alone!
The Complete Cooking Journey
Baking these Red Velvet Cream Cheese Stuffed Cookies is a breezy and gratifying affair. From whisking dry ingredients to the exciting moment you unveil the cream cheese heart, every step feels rewarding. Let’s dive into how you can recreate this magical process!
Ingredients:
- 2 1/2 cups all-purpose flour
- 1 tablespoon cocoa powder
- 1 teaspoon baking soda
- 1/2 teaspoon salt
- 1 cup unsalted butter, softened
- 1 1/2 cups granulated sugar
- 1 large egg
- 1 tablespoon red food coloring
- 1 teaspoon vanilla extract
- 1 cup cream cheese, softened
- 1/2 cup powdered sugar
Method:
Step 1: Preheat the Oven
Preheat the oven to 350°F (175°C). This step ensures your cookies get that perfect golden crust.
Step 2: Whisk Dry Ingredients
In a large mixing bowl, whisk together the flour, cocoa powder, baking soda, and salt. This combination will provide the perfect foundation for your vibrant cookies.
Step 3: Cream Butter and Sugar
In another bowl, cream together the softened butter and granulated sugar until the mixture is light and fluffy. This is where the magic begins, adding in the egg, red food coloring, and vanilla extract, mixing until everything is well incorporated.
Step 4: Combine Wet and Dry Ingredients
Gradually add the dry ingredients to the wet mixture, folding and mixing until just combined. Be careful not to overmix; we want to keep the cookies soft and delightful.
Step 5: Prepare the Cream Cheese Filling
In a separate bowl, mix the softened cream cheese with powdered sugar until it’s smooth and creamy. This will be the sweet surprise that awaits in each cookie.
Step 6: Form the Cookie Dough
Scoop out cookie dough and flatten each portion slightly. Place a generous dollop of the cream cheese mixture in the center and wrap the dough around it, forming a ball. It’s like a little gift waiting to be unwrapped!
Step 7: Arrange on Baking Sheet
Place the formed cookie balls on a baking sheet lined with parchment paper. This prevents sticking and guarantees easy cleanup.
Step 8: Bake to Perfection
Bake in the preheated oven for 12-15 minutes or until the tops are crinkly. When they come out, the aroma will be incredible!
Step 9: Cool and Serve
Allow the cookies to cool on the baking sheet for a few minutes before transferring them to a wire rack. They’ll continue to set and firm up as they cool.
Serving Suggestions & Pairings
These cookies shine on their own but also pair beautifully with a glass of cold milk, a hot cup of coffee, or even a scoop of vanilla ice cream for an extra indulgent treat. For a themed party, arrange them on a festive platter alongside red and white treats.
Storage & Leftovers Guide
Store any leftover cookies in an airtight container at room temperature for up to 3 days. If you’d like to keep them longer, consider freezing them! Just pop them in a zip-top bag, and they’ll stay good for about 2 months. Thaw them at room temperature before enjoying.
Kitchen Wisdom & Success Tips
- Make sure your butter is really softened—this helps the cookies become nice and fluffy.
- If the dough is too sticky, chill it for about 30 minutes before baking; it will make handling easier.
- Experiment with different flavors for the cream cheese filling! A touch of lemon zest or a dash of almond extract can add a delightful twist.
- For a more pronounced red color, use a higher quality gel food coloring.
Flavor Variations & Adaptations
Want to shake things up? Try adding chocolate chips into the dough for an extra burst of chocolate flavor. Or, swap the cream cheese filling with your favorite flavored frosting for a twist that still delights the palate.
Reader Questions & Solutions
-
Why are my cookies spreading too much?
- Ensure the butter is properly softened and not melted. Chilling the dough can also help prevent excessive spreading.
-
How can I make these gluten-free?
- Substitute the all-purpose flour with a gluten-free blend and ensure that the other ingredients do not contain gluten.
-
Can I use light cream cheese?
- Absolutely! Just keep in mind that light cream cheese might not be as creamy, affecting the filling’s texture slightly.
-
What if I don’t have red food coloring?
- You could use beet juice as a natural alternative, but it may change the flavor slightly. Just a couple of tablespoons should do the trick!
-
How do I know when the cookies are done?
- Look for a slightly crinkled surface; they will set more as they cool. A light touch should not leave an imprint.
Wrapping Up
Baking these Red Velvet Cream Cheese Stuffed Cookies promises not just delicious treats but a chance to create lasting memories with those you love. So roll up your sleeves, gather the ingredients, and embark on this joyful journey. Sharing these cookies is a sweet way to bond, celebrate, and bring a little extra joy into the world—one bite at a time. Happy baking!